How to Fix a Ripped Subwoofer Surround?

Audiophiles know the worth of subwoofers in any high-quality audio system. Subs play the most crucial role in reproducing the low-frequency sounds that make your music or movie soundtracks jaw-dropping.
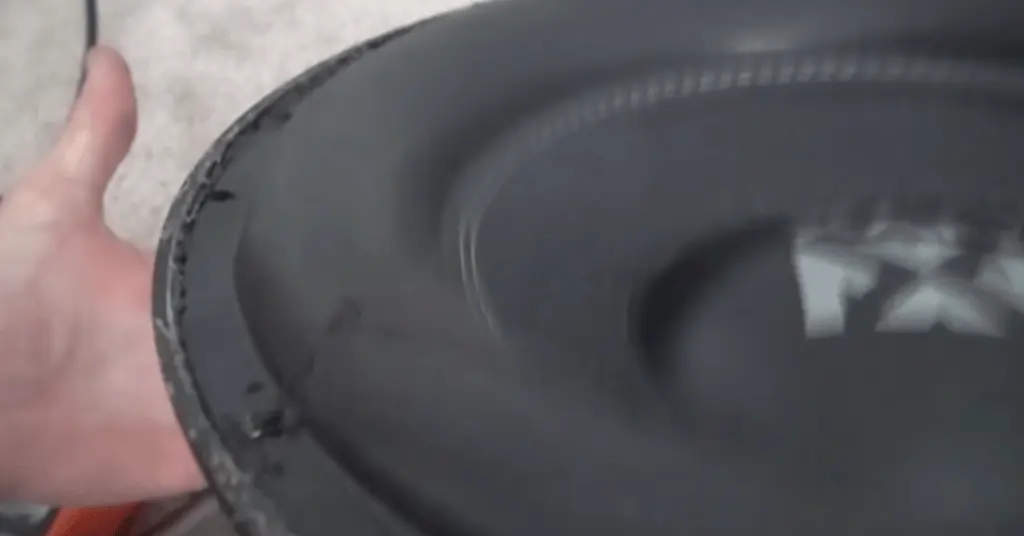
However, subwoofers are susceptible to wear and tear like any other electronic component. The most common error found is a ripped surround.
Surrounds, the flexible rings on the outer edges of the speaker cones, are crucial for subwoofer operation, allowing the cones to move and generate sound.
A damaged surround can significantly degrade your audio experience. In this guide, I aim to provide you with the knowledge to address such an issue, thereby ensuring the longevity and efficiency of your sound system. Let’s begin!
Can You Fix a Torn Subwoofer Surround?
Yes, you can fix a torn subwoofer surround. Depending on the severity of the damage, you can either use a thin rubber or, a particular repair tape or a suitable adhesive. Remember, the goal is to restore the flexibility and integrity of the surround, not to make it rigid. It’s a delicate process that requires patience and precision. If not done correctly, it could lead to further damage, so it may be better in some cases to replace the surround entirely.
8 Steps to Fix Torn Speaker Surround:
Below, I have provided a detailed guide about fixing the hole in the subwoofer surround:
1. Gather the Required Tools:
- Soft Brush or Lint-Free Cloth: It will help you to dust off and clean the subwoofer.
- Mild Soap Solution: You will need it to clean the damaged area before repairing.
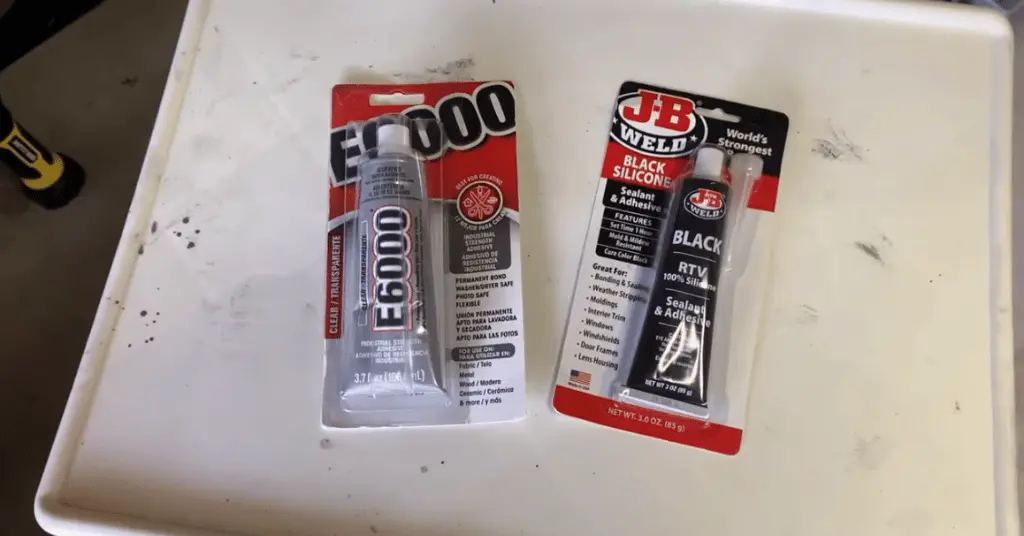
- Adhesives: Depending on the situation, you can use rubber cement, specialized speaker repair glue, foam-safe adhesive, or specific foam surround repair glue for foam surrounds.
- Toothpick or Small Spatula: It will help you to spread the adhesive evenly.
- Patch Material (if needed): A piece of similar material (like foam or rubber) to cover larger rips.
- Sharp Scissors or Precision Knife: You can cut the patch material to the desired size.
- Screwdriver: You may need the flathead screwdriver to unmount the subwoofer from the enclosure for easy speaker surround repair.
2. Inspect the Damaged Area (Assessment):

Before fixing the ripped surround, I always follow these three rules to make a well-informed decision:
- Conduct a visual inspection to determine the size of the rip, whether minor or significant.
- Perform a sound test at low volume to ascertain if the damage has affected the audio output, and listen for any distortions or rattling noises.
- Touch around the affected area gently to check fragility; if the rip expands with minimal pressure, it could be more delicate than it appears.
3. Take the Subwoofer Out of the Enclosure (If Required):
You must remove the sub out of its enclosure for a cleaned repair. You can follow the below steps:
- First, ensure to disconnect any power sources to avoid electrical hazards.
- Carefully undo the screws holding the speaker in place within the enclosure using a screwdriver.
- Keep the screws safe, as you’ll need them for reassembly.
- Now, gently lift the subwoofer out of the enclosure, taking care not to pull or strain the connecting wires.
- Disconnect the wires by pulling on the connectors, not the cables themselves.
Handle the subwoofer delicately to prevent any damage to it. Now, your subwoofer is ready for any necessary repairs or replacements.
4. Preparing the Damaged Area for Repair (Cleaning):
Please follow the below steps to make the process simple yet effective:
- Dust Off: You should use a soft brush or lint-free cloth to remove dust or debris from the subwoofer.
- Clean the Area: You can dampen a cloth with mild water and soap solution. Now, please gently clean around the ripped area, ensuring you remove any residue or grease. Let the area be dried before moving to the next step!
5. Choosing the Right Adhesive:

If you don’t know about the suitable adhesive for your surround type, you can check the most used adhesives for repairing a subwoofer below. I mostly use them to repair my clients’ subs.
- For Butyl Rubber Surrounds: Get a flexible adhesive like rubber cement or a specialized speaker repair glue.
- For Foam Surrounds: You can use foam-safe adhesive or specific foam surround repair glues.
6. Applying the Adhesive or Patch:

I have provided two different solutions to fix the hole in the surround depending on its side. You can check them below:
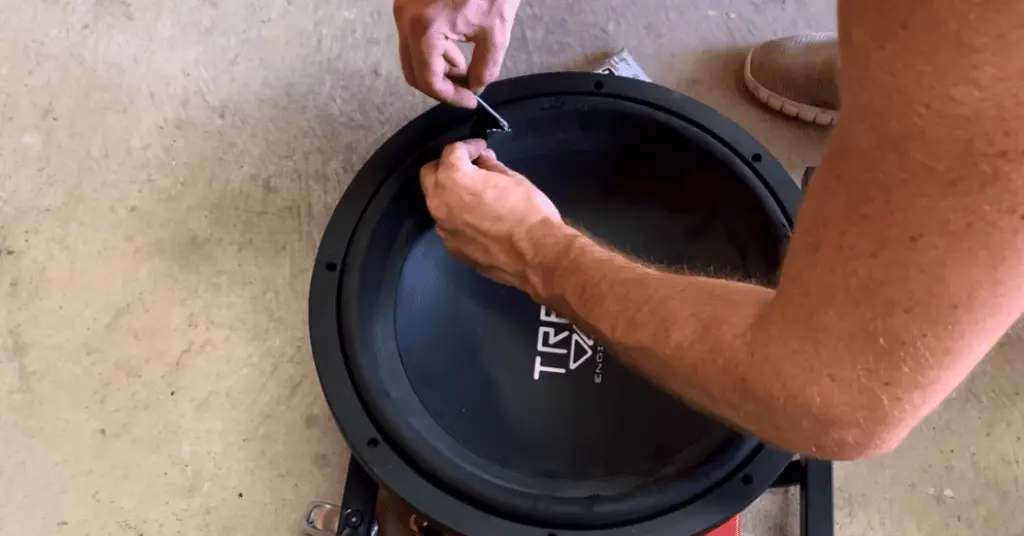
- For a Small Tear: Squeeze a moderate amount of adhesive onto the tear. Now, use a small spatula or toothpick to spread it evenly across the damaged region. For better results, apply the glue on both sides of the tear. Ensure the adhesive penetrates the tear and fills any gaps.
- For Larger Rips: You should use scissors to cut a patch from a similar material, ensuring it is slightly larger than the rip. Apply a suitable adhesive (such as transparent silicone) on the edges of the surround. Be careful not to apply too much, just enough to create a secure bond. Then, carefully place the patch over the tear, ensuring it fully covers the damaged area. Press down firmly and evenly.
7. Give Some Time to Dry:
Now, the adhesive needs sufficient time to bond with the materials and create a solid, durable seal. Using the subwoofer before the adhesive has dried could disturb this bonding process, resulting in a less secure repair.
Keeping the subwoofer horizontal ensures the glue doesn’t drip into the speaker, potentially causing damage. My favorite rule of thumb is to let the adhesive dry for at least 24 hours.
8. Test the Repaired Surround for Sound Quality and Stability:
Once the adhesive for your subwoofer’s surround has thoroughly dried, begin with a visual inspection to confirm that the glue has adequately bonded the torn areas. Use a gentle touch; press softly around the repaired area to ensure it’s secure and stable.
Now, proceed to the sound test. Play audio at different volumes, starting from a low pitch and gradually increasing to a higher one. Listen carefully for any anomalies or distortions in the sound.
If the sound is clear and consistent across all volume levels, congratulations! You’ve successfully repaired your subwoofer’s surround.
Tips for Preventing Future Rips:
If you want to avoid the torn surround in the future, you can follow my tips below:
- Moderate Volume Levels: You should avoid playing your subwoofer at extremely high volumes. According to my past experiences, high sound levels can stress the surroundings and cause wear over time.
- Regular Maintenance: Like human needs proper care to work efficiently, the subwoofer also needs regular maintenance. Keep your subwoofer surround gently cleaned with a lint-free cloth occasionally to prevent dust and debris from accumulating.
- Proper Placement: Ensure you haven’t placed the subwoofer in an area where it’s likely to get bumped or kicked accidentally. Especially in underseat placement, keep the sub well mounted, or it should have a speaker grill to avoid contact with other heavy objects.
- Avoid Direct Sunlight: As a beginner, I have damaged many subwoofers due to excessive sunlight contact (without knowing the reasons). Prolonged exposure to direct sunlight can degrade the materials of the subwoofer surround, especially if it’s made of foam.
- Avoid Sharp Objects: Ensure no sharp or abrasive objects nearby as they can accidentally contact the subwoofer surround, especially in the car audio system.
General FAQs
Can I Replace the Surround Instead of Repairing It?
Yes, you can replace the surround instead of repairing it. This may be a more cost-effective and long-term solution, especially if the current surround is old or severely damaged.
Is It Safe to Use Any Adhesive for the Subwoofer Surround?
Not all adhesives are suitable for subwoofer surrounds. Using a bond that can withstand considerable movement, heat, and time is essential. Rubber-based sealants are often recommended as they remain flexible after drying. Avoid superglue or similar products, which may harden and lead to a brittle surround, impairing sound quality and risking damage to the subwoofer.
Can You Use Silicone to Fix a Subwoofer?
Yes, silicone can be used to repair a subwoofer. It’s an effective adhesive that can help fix minor tears or holes in the subwoofer’s cone. However, proper application is essential to ensure a lasting repair.
